Updated 2026-08
How to Import Sprite Frames & Build Frame Animations in Cocos Creator
Frame animation in Cocos Creator 3.x revolves around Animation Clips: mark your PNG sequence as sprite-frames, drag them onto a Clip timeline, done. This guide walks the full path from import to TypeScript playback, plus the Auto Atlas batching you'll want before shipping.
Quick answer
Drag the PNG sequence into Assets → select all and set Type to sprite-frame in the Inspector → create a node with a Sprite component and add an Animation component → create an Animation Clip and drag all frames onto its spriteFrame track → set sample rate, save → play with getComponent(Animation).play() in code.
What you need
A set of transparent PNG sequence frames with zero-padded filenames. Cocos's animation timeline consumes individual frames directly, so PNG sequences beat packed sheets here — a single sheet needs a TexturePacker-style plist first, which is one extra step you can skip.
Step-by-step
1Import the PNG sequence
Drag the whole set (attack_001.png through attack_024.png) into a folder in the Assets panel, e.g. assets/sprites/dragon/attack/. One folder per action pays off when you drag frames onto the timeline later.
2Batch-set Type to sprite-frame
Select every imported PNG, switch Type from raw to sprite-frame in the Inspector, and apply with the green check. Each image now exposes a sub-asset that Sprite components can consume directly.
3Build the node: Sprite + Animation components
Create a node in the Hierarchy, add a Sprite component (2D → Sprite) and drop the first frame into its Sprite Frame property as the resting look; then add an Animation component (Animation → Animation).
4Create the Clip and lay down frames
Right-click in Assets → Create → Animation Clip, named after the action (attack). Drag it into the Animation component's Clips list, then double-click it to open the Animation editor at the bottom: select the Sprite track, add a spriteFrame property track, and drag the entire frame set from Assets onto the timeline in one go — Cocos lays them out in filename order automatically.
5Set sample rate and wrap mode
Set Sample (your frame rate, 10–12 typical) in the editor's top-left; in the Clip's Inspector choose Wrap Mode: Loop for cycles or Normal for one-shots like attack and death. Save the clip.
6Play and switch actions in TypeScript
The Animation component plays clips by name; catch one-shots with a once listener to return to the loop. A typical controller:
// DragonAnim.ts
import { _decorator, Component, Animation } from 'cc';
const { ccclass } = _decorator;

@ccclass('DragonAnim')
export class DragonAnim extends Component {
    private anim!: Animation;

    start() {
        this.anim = this.getComponent(Animation)!;
        this.anim.play('fly');
    }

    attack() {
        this.anim.play('attack');
        // Attack is a one-shot - return to the flight loop when done
        this.anim.once(Animation.EventType.FINISHED, () => {
            this.anim.play('fly');
        });
    }
}
Pixel art & performance, two things
- Pixel sampling: select your PNGs and set Filter Mode to nearest (point sampling) in the Inspector — the bilinear default blurs pixels. Batch-apply it to the whole set.
- Batch with Auto Atlas before shipping: right-click the frames folder in Assets → Create → Auto Atlas. At build time Cocos packs loose frames into one atlas, collapsing dozens of draw calls into one. Keep loose frames during development for easier debugging.
FAQ
- Can I use a packed sprite sheet directly?
- Cocos needs a plist descriptor (from TexturePacker) to slice a packed sheet — the editor has no built-in grid slicer. That's why PNG sequences are the preferred input in Cocos workflows. FrameSprite exports both formats; pick PNG sequence for Cocos.
- My frames are out of order on the timeline — why?
- The timeline orders frames by filename, so numbers must be zero-padded: frame_2 sorts after frame_10. Sequences exported from FrameSprite are three-digit padded (frame_001) and drop in correctly.
- Animation looks fine in-editor but frames show dark edges on device?
- That's a premultiplied-alpha mismatch on semi-transparent edges. If your source alpha is clean but edges darken, toggle premultiply alpha in the image Inspector and compare. Transparent PNGs from FrameSprite ship despilled, so they typically need nothing.
- What's the cleanest way to organize multiple actions?
- One folder and one Clip per action, all registered in the same Animation component's Clips list, switched uniformly with play('name') in code. Set the idle/loop action as the Default Clip.
Need sprite sheets to import?
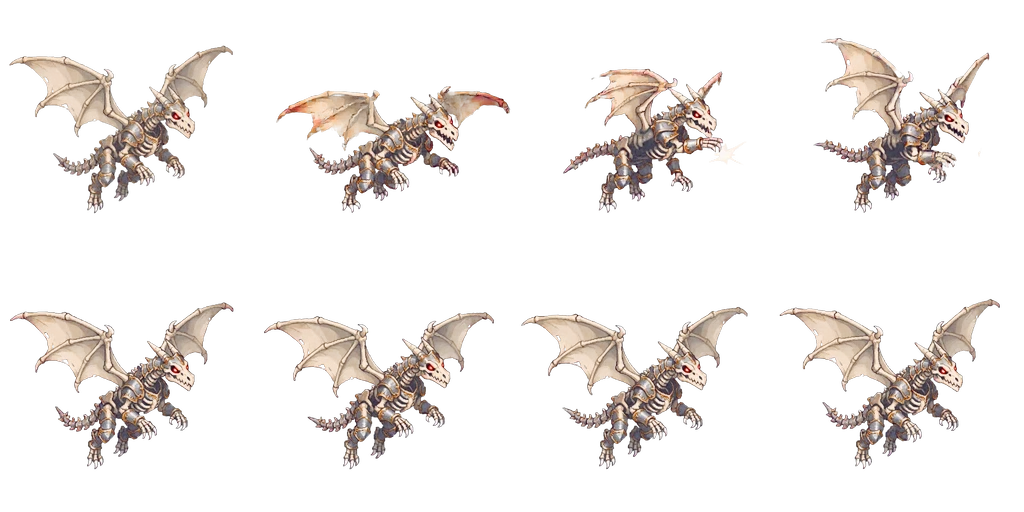
Upload one character image to FrameSprite and get 14 action animations back — auto chroma-keyed in the browser, exported as transparent PNG sequences and packed sprite sheets. The dragon in this guide was made exactly this way. 30 free credits on sign-up.
Generate sprite sheets free